Mayfair app
Please read this walkthrough before you start using the Mayfair App.
Use the buttons on the right to jump directly to the section you need.
How to log in to the Mayfair App
Follow these steps to log in to the Mayfair App.
1 Go to the following website: https://app.mayfairpools.co.nz/
2 Enter your email address
3 A pin will be sent to your email address. Enter this pin to sign in.
How to Add a New Client
Follow this guide to learn the necessary steps for registering a new client within the Mayfair App. It covers the required fields and submission process to ensure your client data is captured accurately.
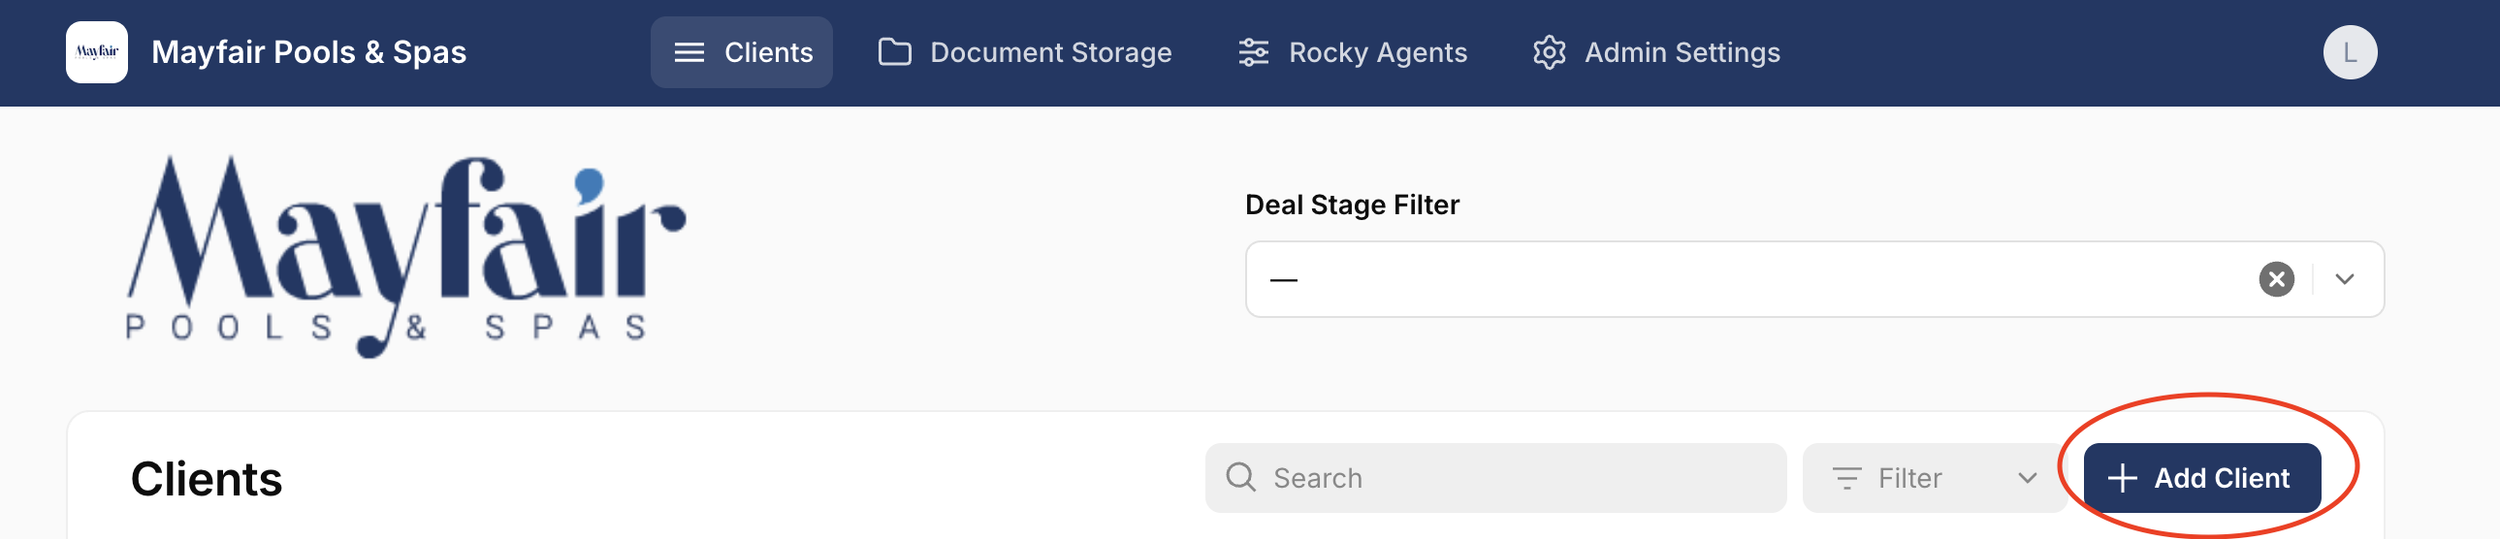
1. On the main client home screen, select “Add Client”
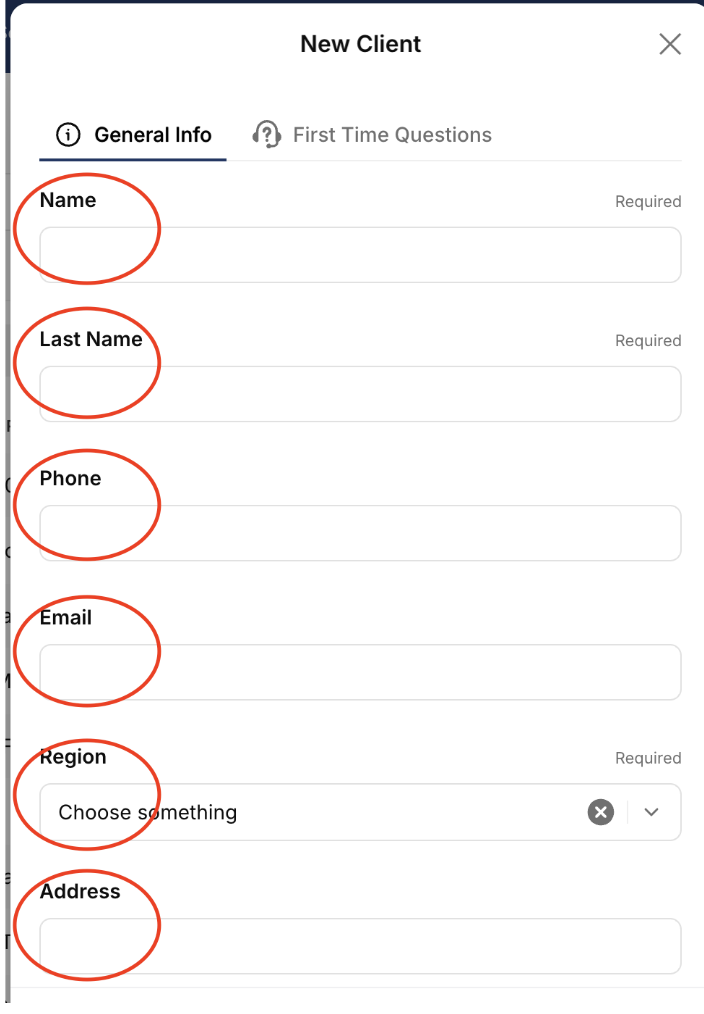
2. Enter the clients details into the relevant fields, ensuring the correct region is selected during this process.
3. Continue entering clients details. The “note” section allows you to input any relevant information. Select “Renovation” if this is relevant to this project.
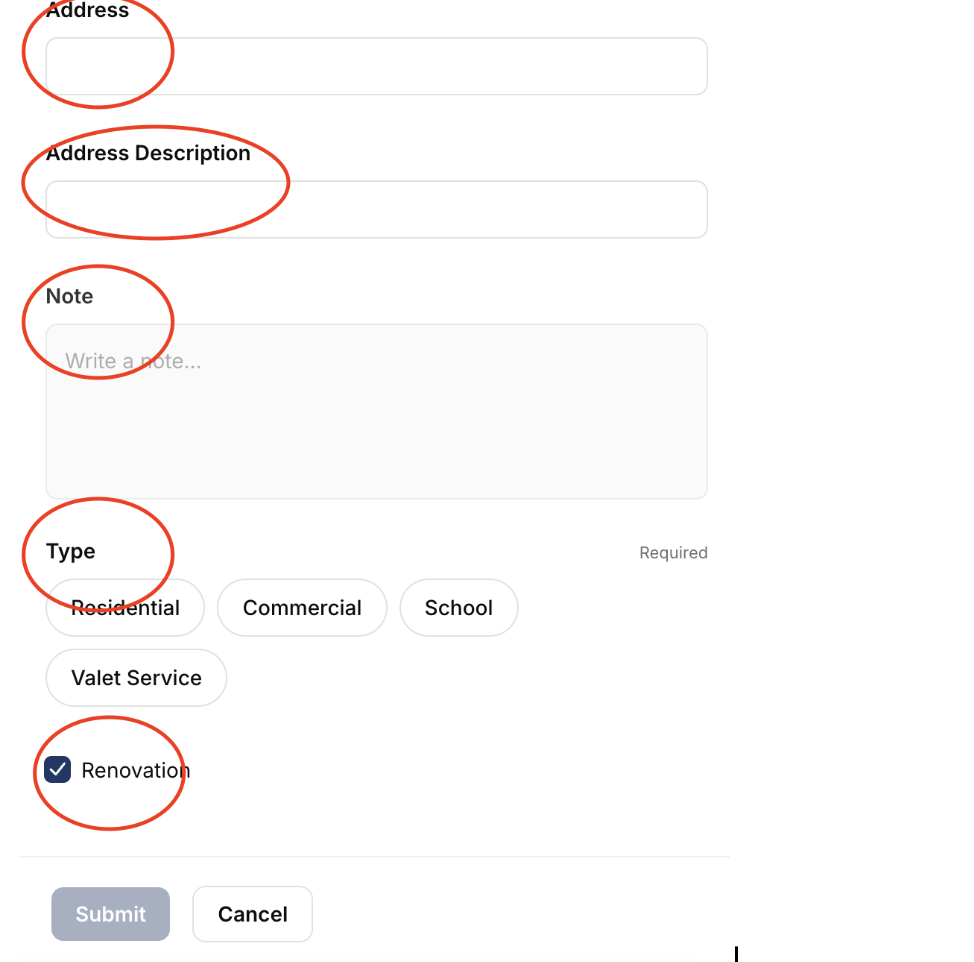
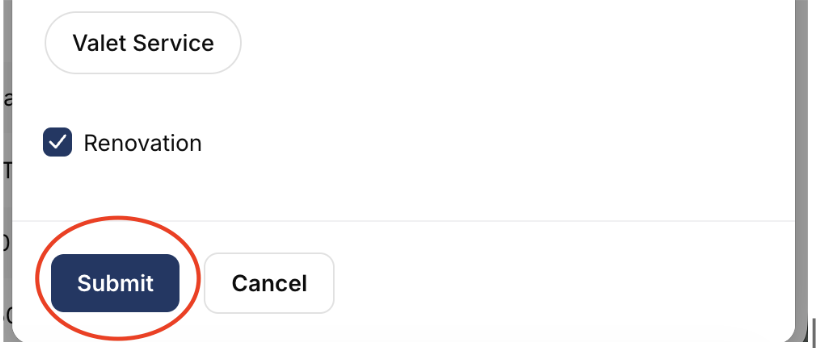
4. Once all fields have been completed select “submit” to save the client.
Updating Deal Stages & Auto Emails
Learn how to efficiently manage your sales pipeline by updating deal stages within the Mayfair app. This guide walks you through the steps to move prospects through the system to ensure accurate tracking and follow-up. It also walks through how to send and edit templated emails from within the app.
1. Once you have saved a new client you will be taken to the clients “info tab”. You can also access this by selecting the client from the main “clients” screen and then selecting the relevant client
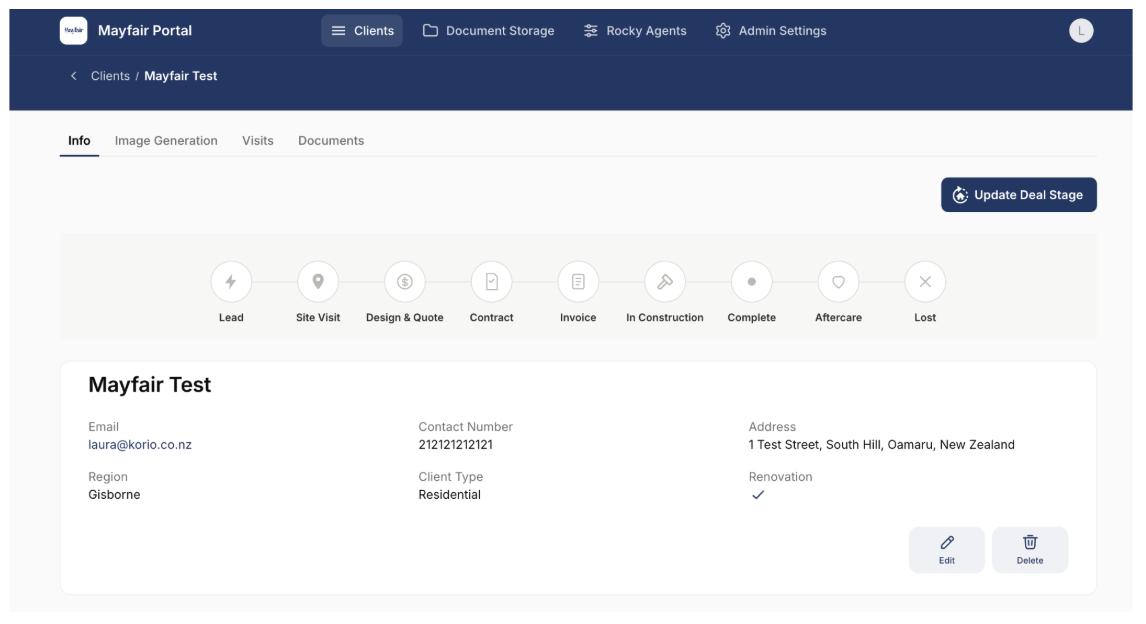
2. Select Update Deal Stage
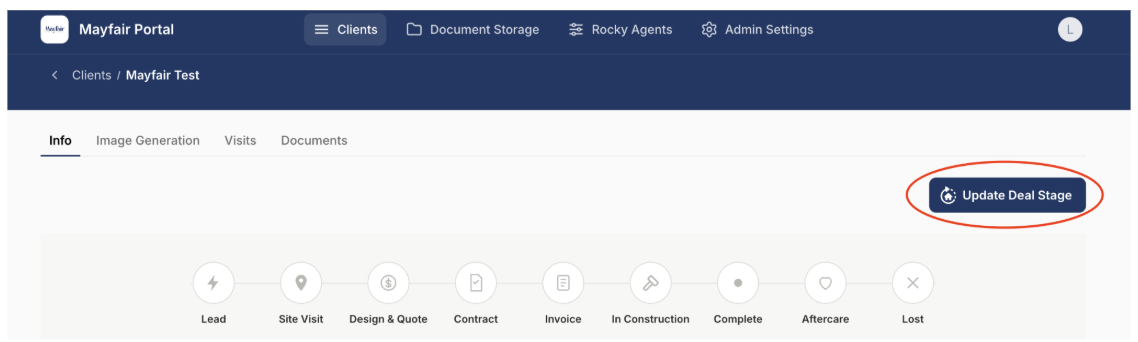
3. From the drop down menu, select the relevant stage the client is at
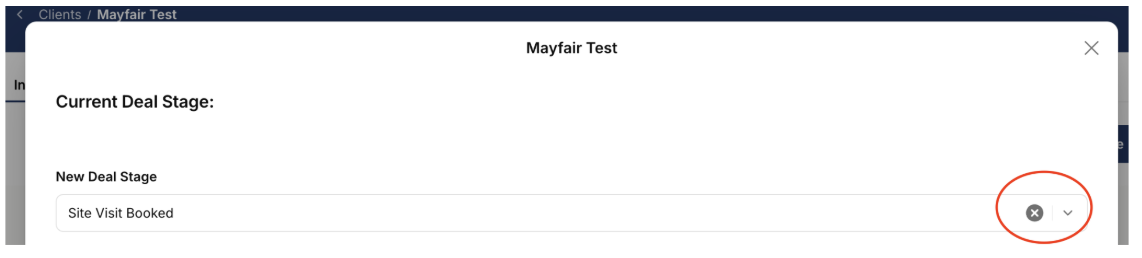
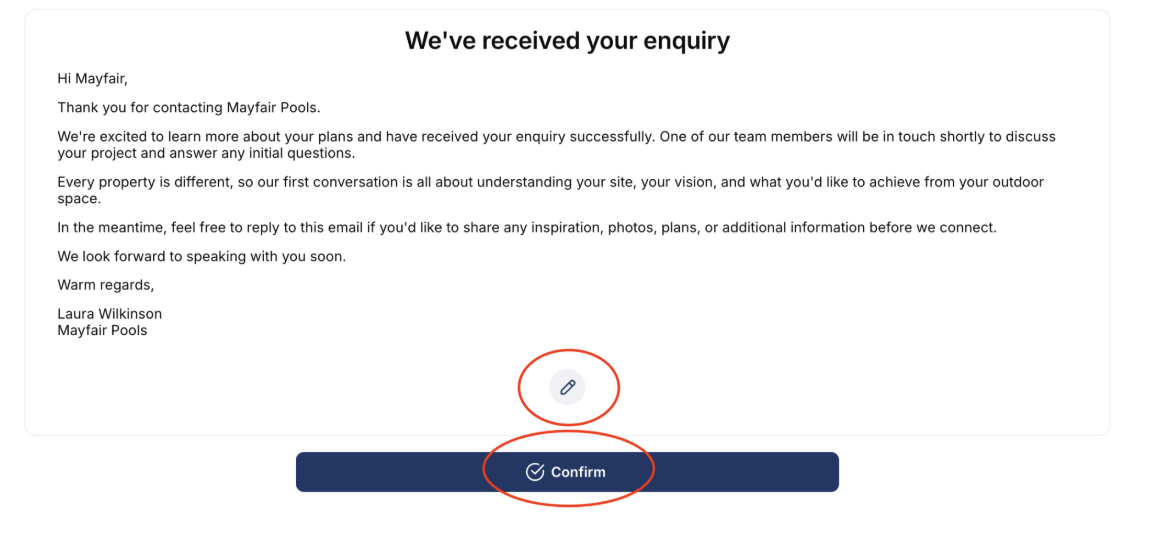
4. Once on the correct deal stage, select “send email?”. This will send an email from within the app. The email address that was entered under the clients info section will pull through to the “to” info.

5. Once the "check box has been selected above, the template will show. If edits are needed before the email is sent, select the pencil icon to make any adjustments. Note, this will not affect the original template.
Once changes have been made, or if no changes are required, select “confirm” to send the email.
6. When sending an email from within the system, the sender address is determined by the region selected for the client. For example, if Gisborne is selected for the region, the reply email address for the client to respond to will be the Gisborne regions email: gisborne@mayfairpools.co.nz.

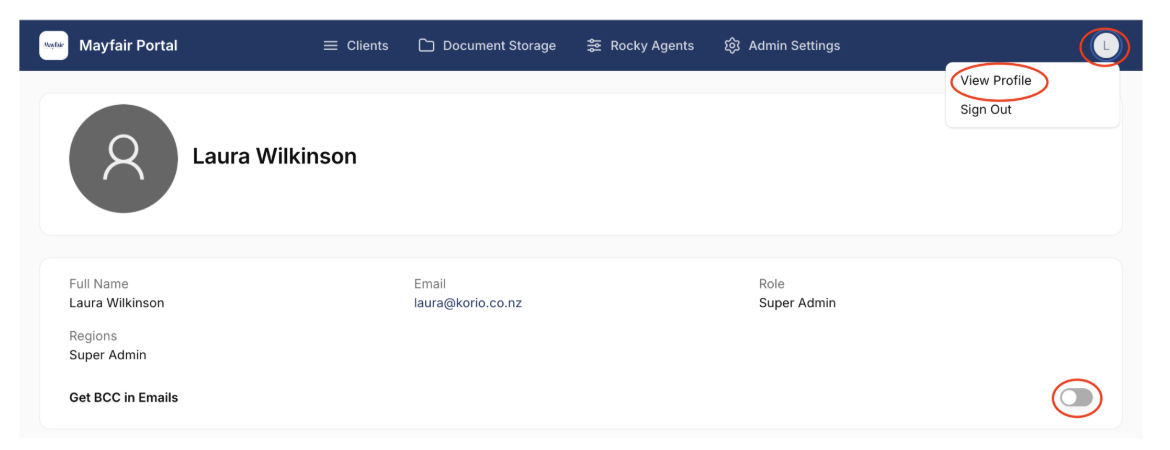
7. You can choose whether to be BCC on the emails that are sent. To do this, select your initial on the top right corner, then select view profile. You can then toggle this functionality on and off
How To Log A New Property Visit
Learn how to efficiently record property visits using the Mayfair portal. This guide walks you through each step, from selecting the date to submitting your notes.
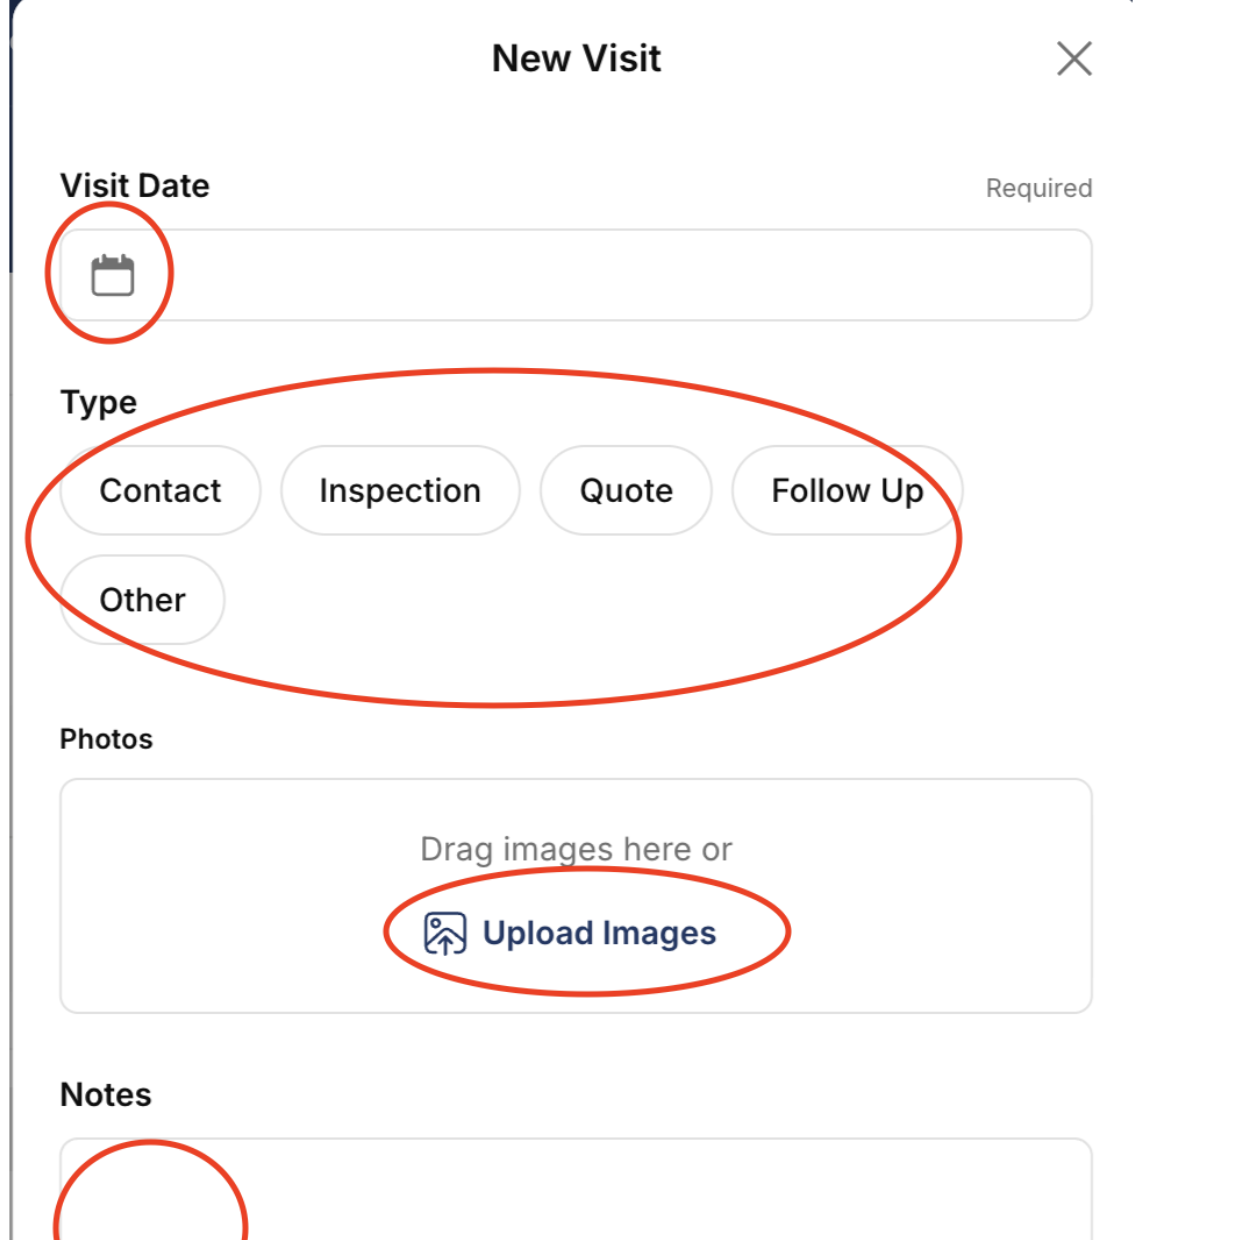
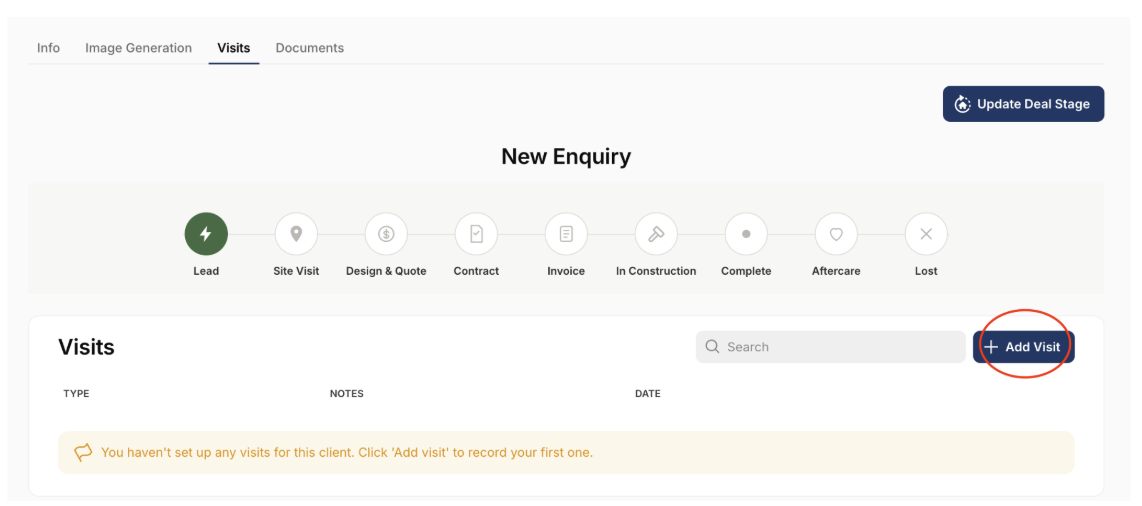
1. Once you are onto the clients page, and have selected the client, click “Visits”
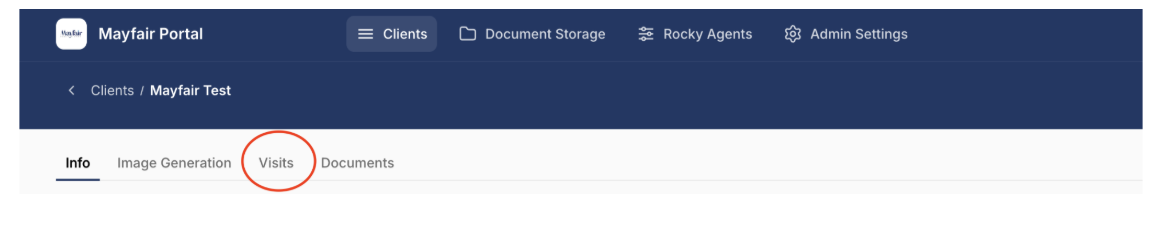
2. Select “Add Visit”
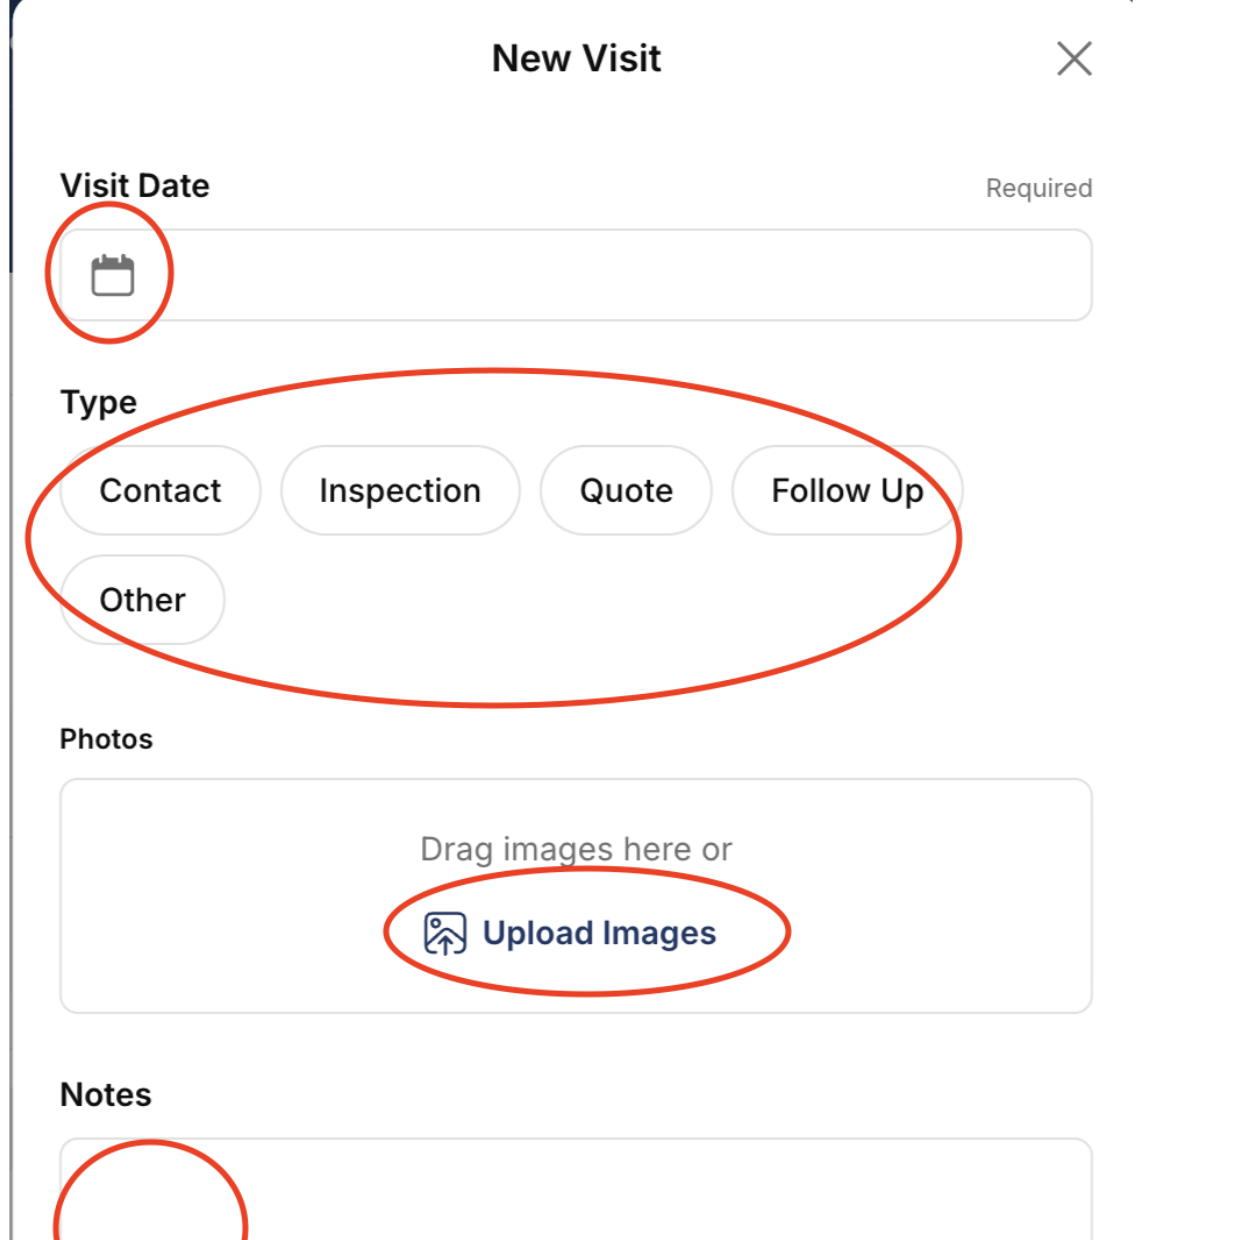
3. Complete fields; visit date, type of visit, photos (if applicable) and any notes.
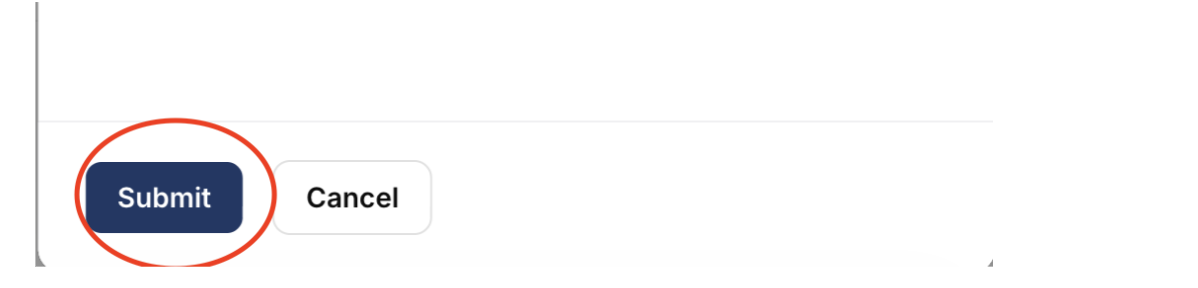
4. Once details are entered, select “submit” to log the visit
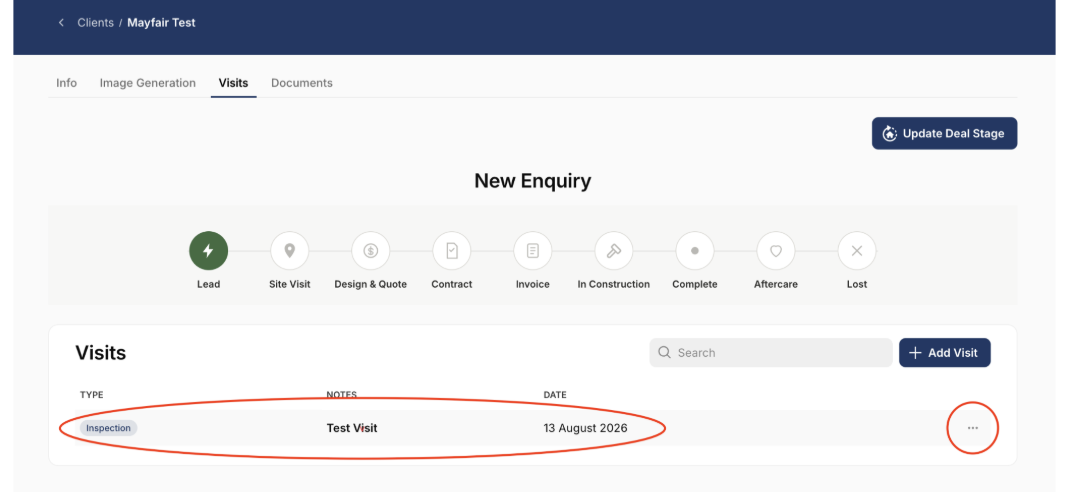
5. The visit is logged under the “visits tab”. Selecting the 3 dots will allow you to add or change any of the details.
How to Upload Documents against a client
Follow these steps to quickly access and upload your important document and files through the Mayfair portal. This guide simplifies the navigation and file selection process to ensure your documentation is submitted correctly.
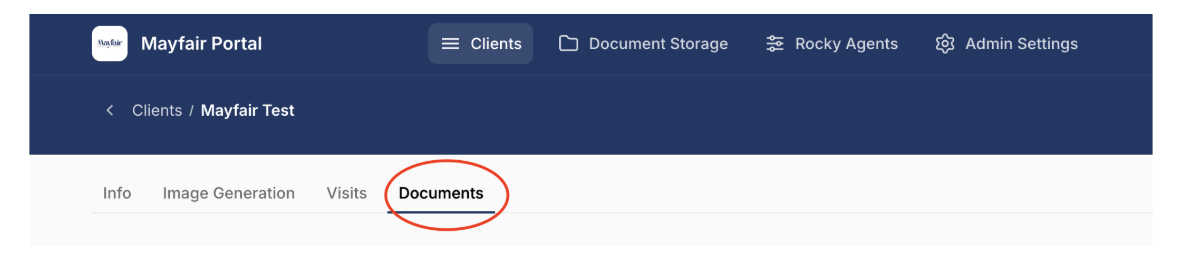
1. Once the client has been selected, click “Documents”
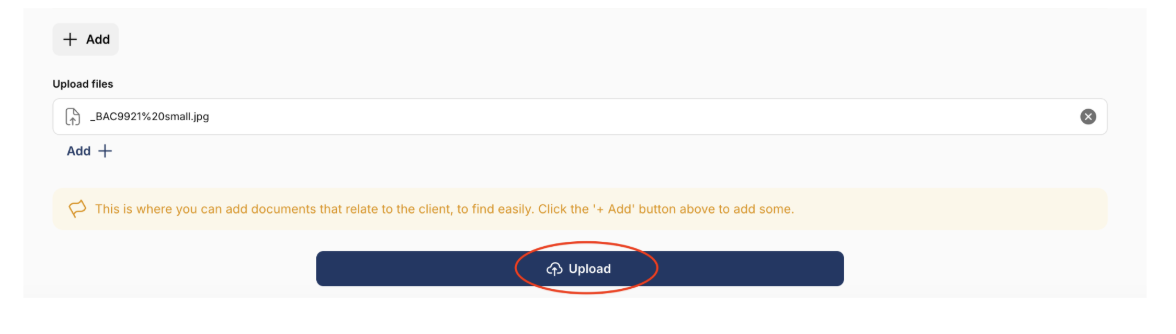
2. Select Choose a file. Then select from your documents the relevant file to upload.

3. When the document has finished loading, select “upload” to store it against the client.
How To Generate a Custom AI image of the pool
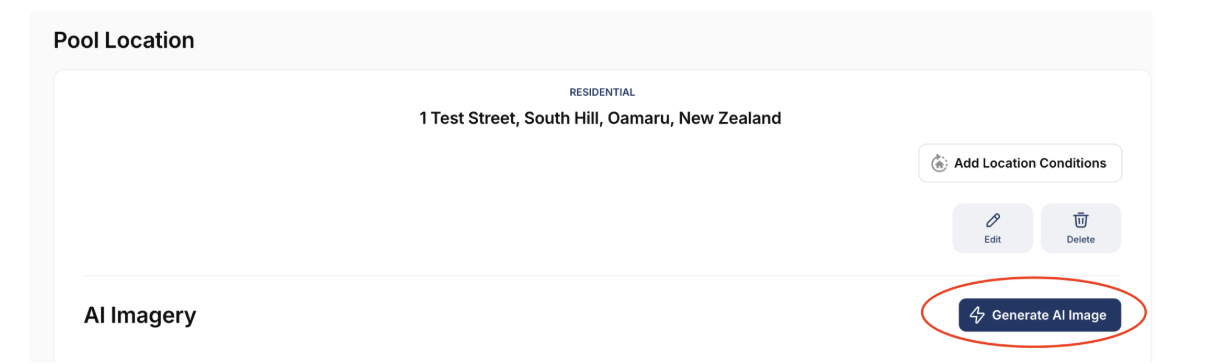
Learn how to generate an AI image for your listing within the Mayfair Portal. This guide provides a simple workflow to ensure your location data is accurately captured and visually represented.
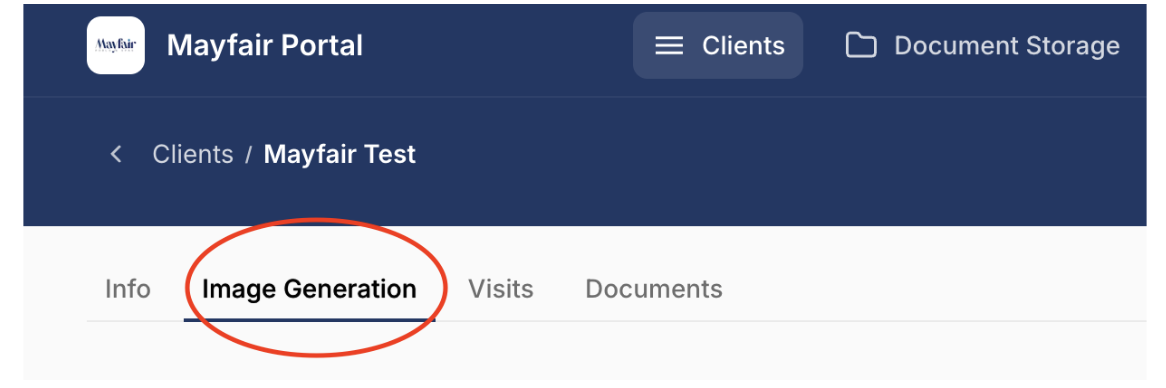
1. Once the client has been selected, click “Image Generation”
2. Select “add location conditions”
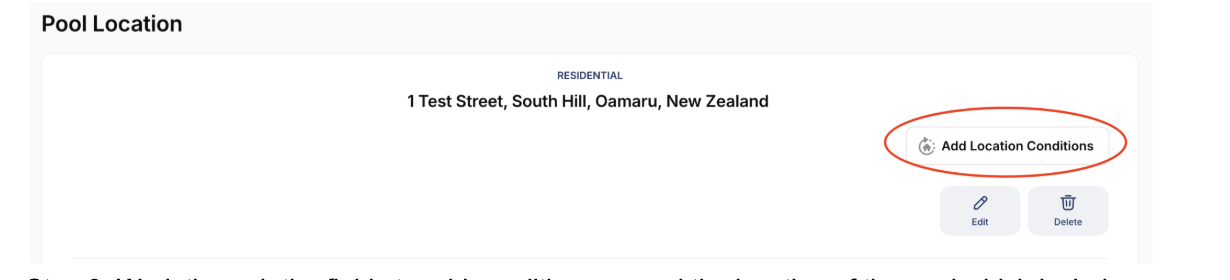
3. Work through the fields to add conditions around the location of the pool which includes the slope conditions, the ability to add photos, soil type etc
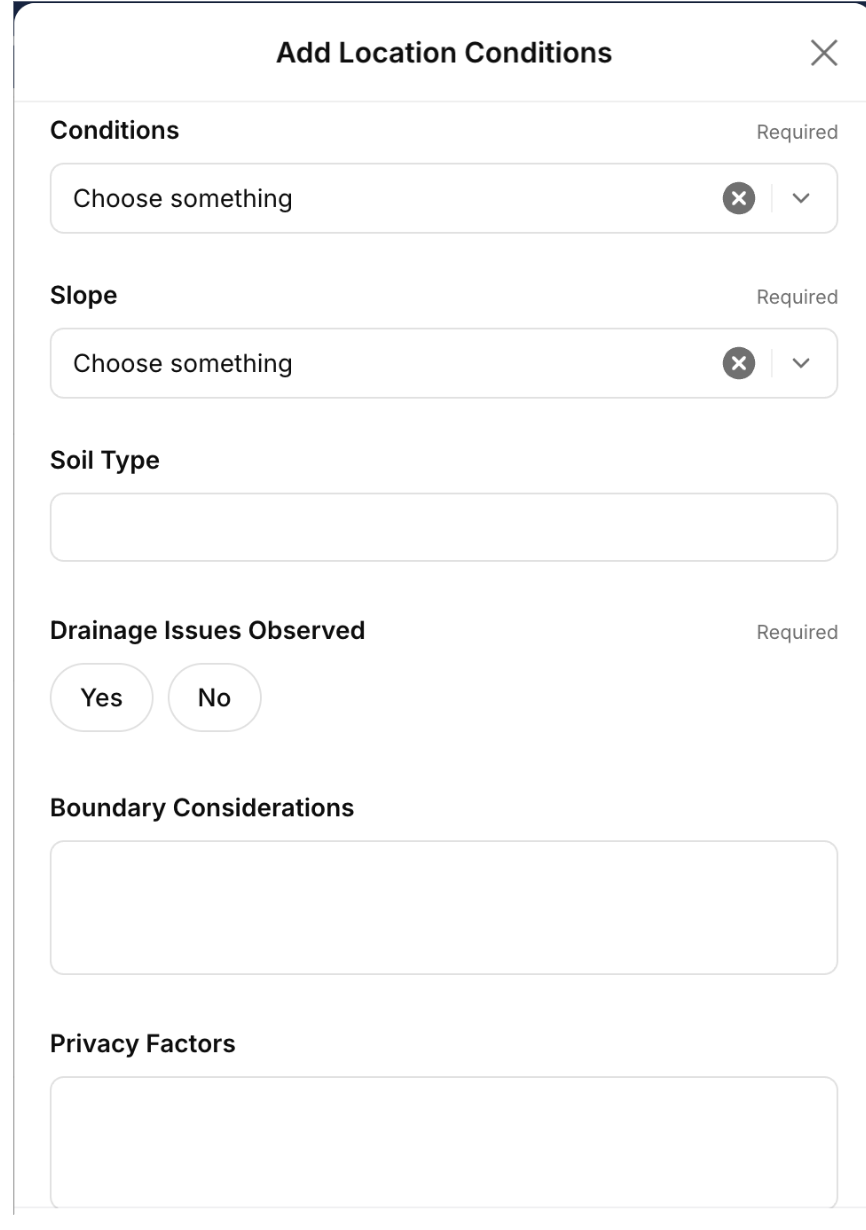
4. Once all fields have been entered, select “submit”
5. Select “Generate AI image”
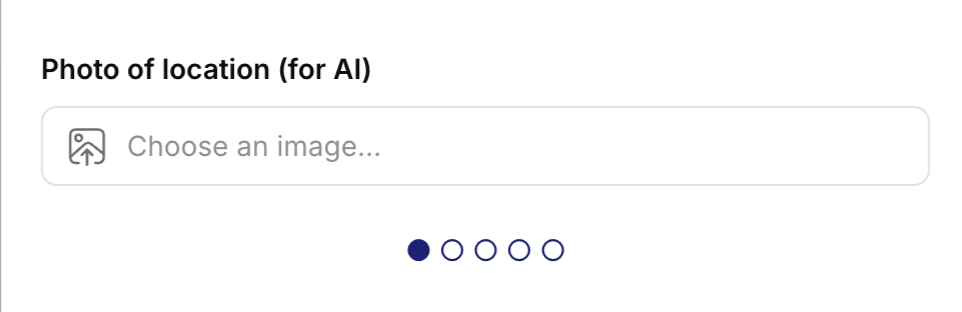
6. Upload a photo of the location of where the pool will go then select “pool type”
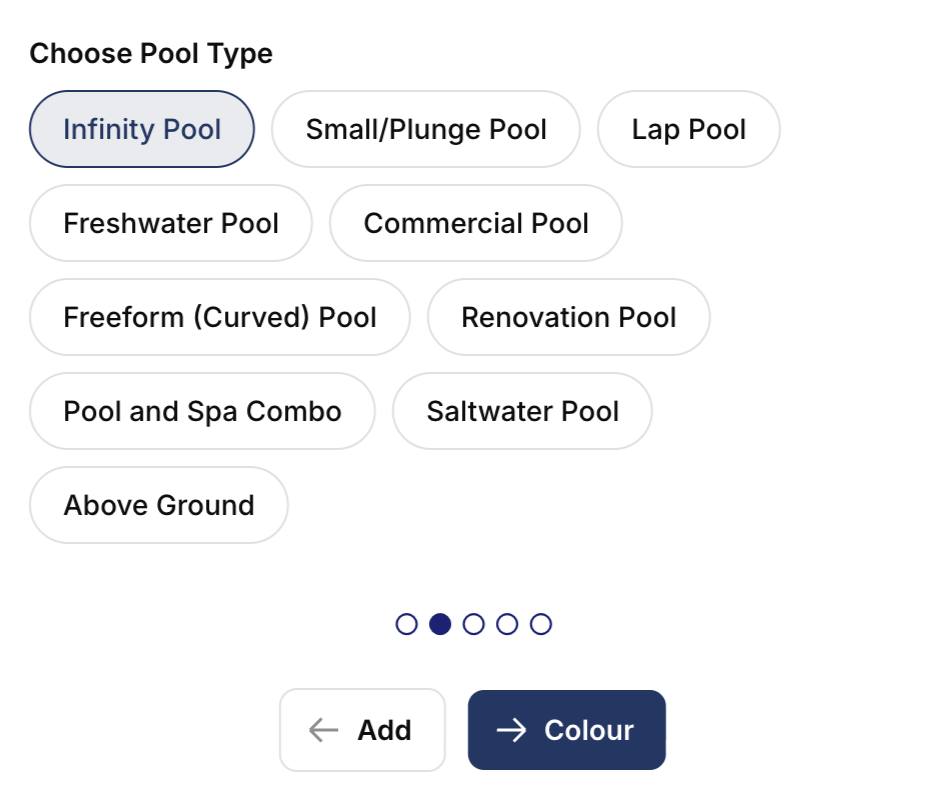
7. Select the relevant pool type and then select “colour”
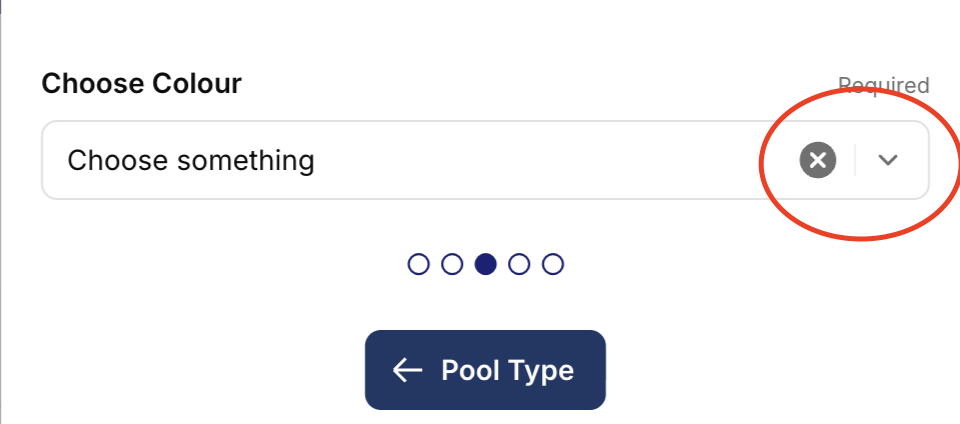
8. Select the colour of the pool from the drop down list and then select “pool prompt”
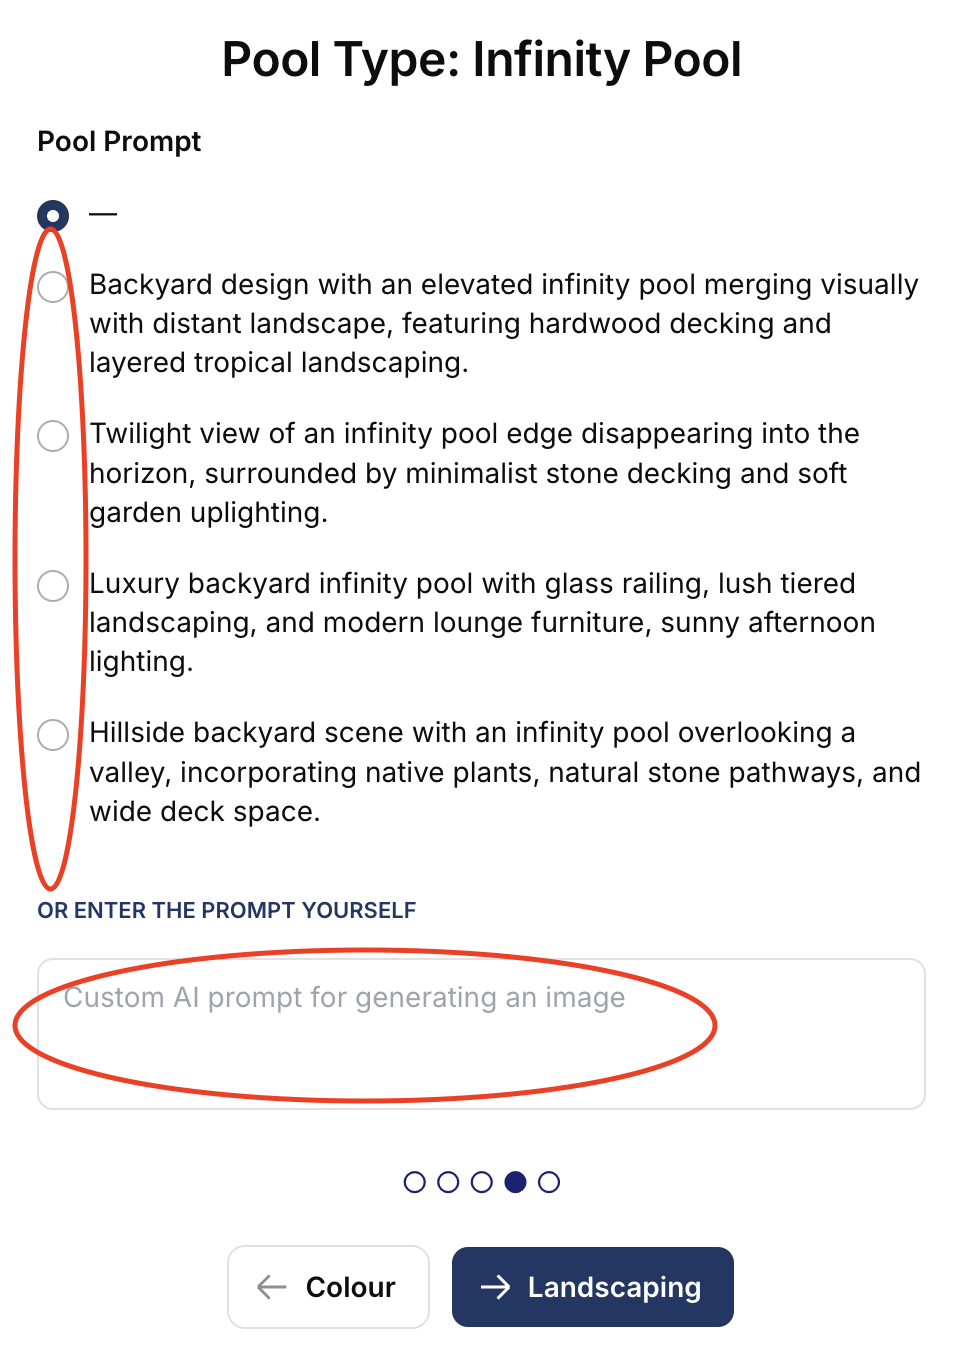
9. Choose from one of the pre-defined pool prompts or enter custom AI prompt for the generator. Once selected click on “landscaping”
10. Choose from one of the pre-defined landscape prompts or enter custom AI prompt for the generator. Once selected click on “generate image”
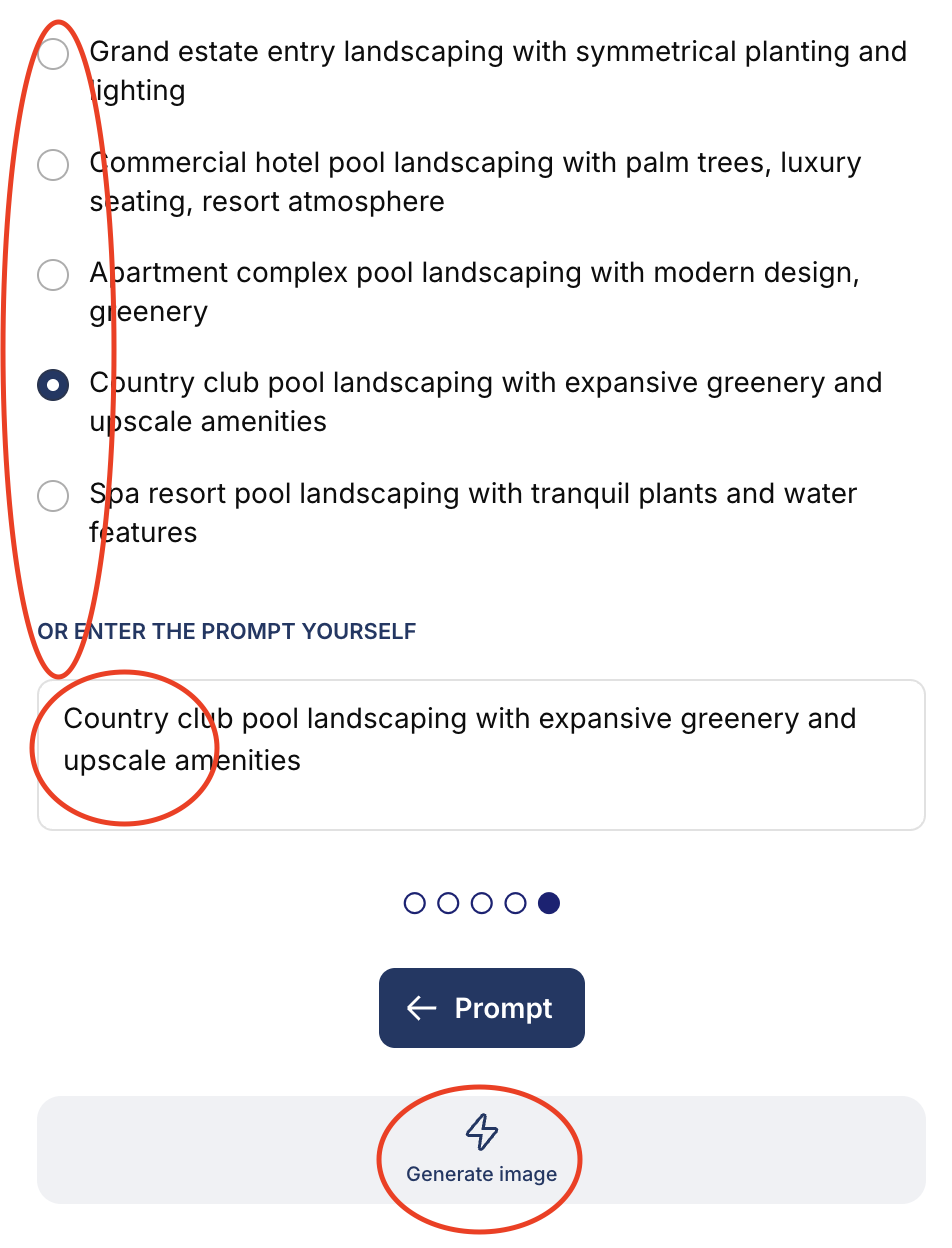
11. The image will then self populate on the screen